
Cockpit table refinished
This is one of those projects that has been on the to do list for a number of years and finally this year it was completed. I had saw a post on the Catalina 36/375 Facebook group in the spring time of somebody who had refinished done their companion way boards that looked really good. That inspired me to finally get going on this job. I used the following process for refinishing the cockpit table.
To start off I removed all the hardware and sanded down all sides using 120 grit sandpaper with a orbit hand sander. That got down to the bare wood as a start.
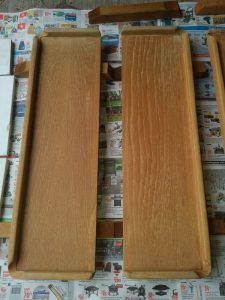

The pictures above are from after I finished the sanding. For the varnish what I used was Epifanes Clear Varnish with Extra UV-filter and a varnishing brush that I bought from Lee Valley Tools in Ottawa.
With Epifanes the application guide has that you need to thin it down to 50% with the first coat. I did that using their thinning product of course. I figured that I was going to stick to using their products together.
After the first coat then I did hand sanding with the 120 grit again before applying the next layer of varnish. Here was where I learned my first lesson in this with the brush cleaning. I did not use the right cleaning solvent on the brush and so with each application the brush kind of got worse. Live and learn and a new brush later the work continued.
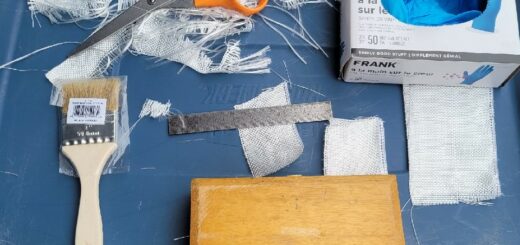
With each successive layer the thinning ratio changes and so the project continued. Below are pictures of the progression. I can’t recall for sure but I believe the left is after the first coat and the right is by the fourth coat.


Here is where I learned my next lesson. I was away for a few weeks and when I went to continue to apply the varnish I found it had little lumps. I contacted Epifanes to find out what was going on and learned that as the can went down and I had more air in it which was not good. The varnish had started to set in the can and the partial can that I had left was ruined.
So a new can was purchased and the varnishing portion of the project continued to completion. Before the final layer of varnish I used a 600 grit wet/dry sanding to get a bit of smoother finish. That was the process the person whose companion way work that inspired me had said they had done on their final layer.
I had once completed to use an Xacto blade to do a little trim and clean up in the cut-outs where the hinges are. I had allowed a bit of build up in there that prevented the hinges from being remounted properly. I also cleaned the hinges while they were disassembled to get them all shiny new with Brasso.
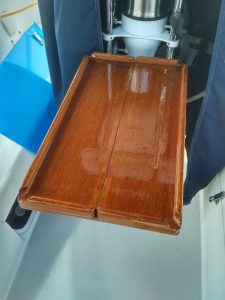
Below is a picture of the final job after re-install back at the pedastal.

Recent Comments